Repairing Vintage Furniture Joints: Restore Strength Without Losing Soul
Why Vintage Joints Fail and How to Read the Clues
Across decades, wood breathes with seasons, shrinking across the grain and swelling with humidity. Tenons compress, shoulders loosen, and dowels ovalize. Understanding this gentle dance helps you design repairs that move gracefully, rather than fight nature and fail again.

Why Vintage Joints Fail and How to Read the Clues
Hide glue can crystallize, creep, and lose grip after cycles of stress and moisture. PVA layered over it may prevent future reversibility or proper bonding. Identifying what is inside a joint guides your solvent choice, cleanup strategy, and adhesive selection for a respectful repair.

This is the heading
Lorem ipsum dolor sit amet, consectetur adipiscing elit. Ut elit tellus, luctus nec ullamcorper mattis, pulvinar dapibus leo.

This is the heading
Lorem ipsum dolor sit amet, consectetur adipiscing elit. Ut elit tellus, luctus nec ullamcorper mattis, pulvinar dapibus leo.
Mortise-and-Tenon Revival: From Wobble to Whisper-Quiet
If a tenon has compressed, add thin, long-grain veneer shims rather than thick, end-grain patches. Fit shims carefully, mimicking original surfaces. Aim for a snug, test-fit that slides home with firm hand pressure, not mallet force, and preserves shoulder-to-mortise alignment.
Dowel and Dovetail Repairs: Precision Meets Patina
Accurate Re-doweling Saves the Day
Use a drill guide or doweling jig to align bores perfectly with the original axis. Replace crushed, smooth dowels with spiral-fluted versions for better glue distribution. Consider a subtle draw-bore effect by offsetting holes slightly, pulling parts tightly together without crushing fragile edges.

Tightening Loose Dovetails Discreetly
Clean old glue carefully, then apply veneer shims on tail cheeks rather than over-widening sockets. Use liquid hide for longer open time. For tiny gaps, toned wax or shellac sticks blend visually while remaining reversible, preserving crisp layout lines and the maker’s tool marks.
Finish-Friendly Workflow: Protect, Clean, and Blend
Lay down low-tack tape and wax resist near glue lines. Slip thin Mylar or card shields between clamps and finish. Cushion pressure with felt or cork. These small moves prevent scuffs, dents, and telegraphed clamp marks that scream repair instead of whispering craftsmanship.
A Chair’s Second Chance: A Short Shop Story
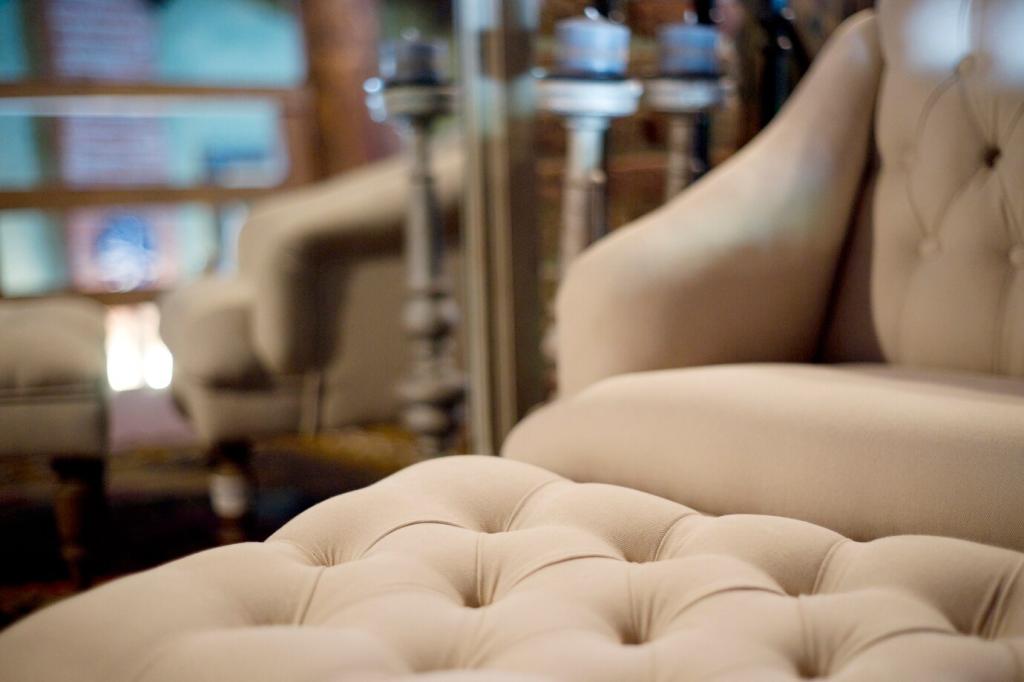
A thrifted maple chair arrived with a theatrical creak. The joints told a story: compressed tenons, starved glue, and one heroic dowel barely holding. After gentle steam and patient probing, the chair agreed to open up, grateful someone finally listened rather than pried.
